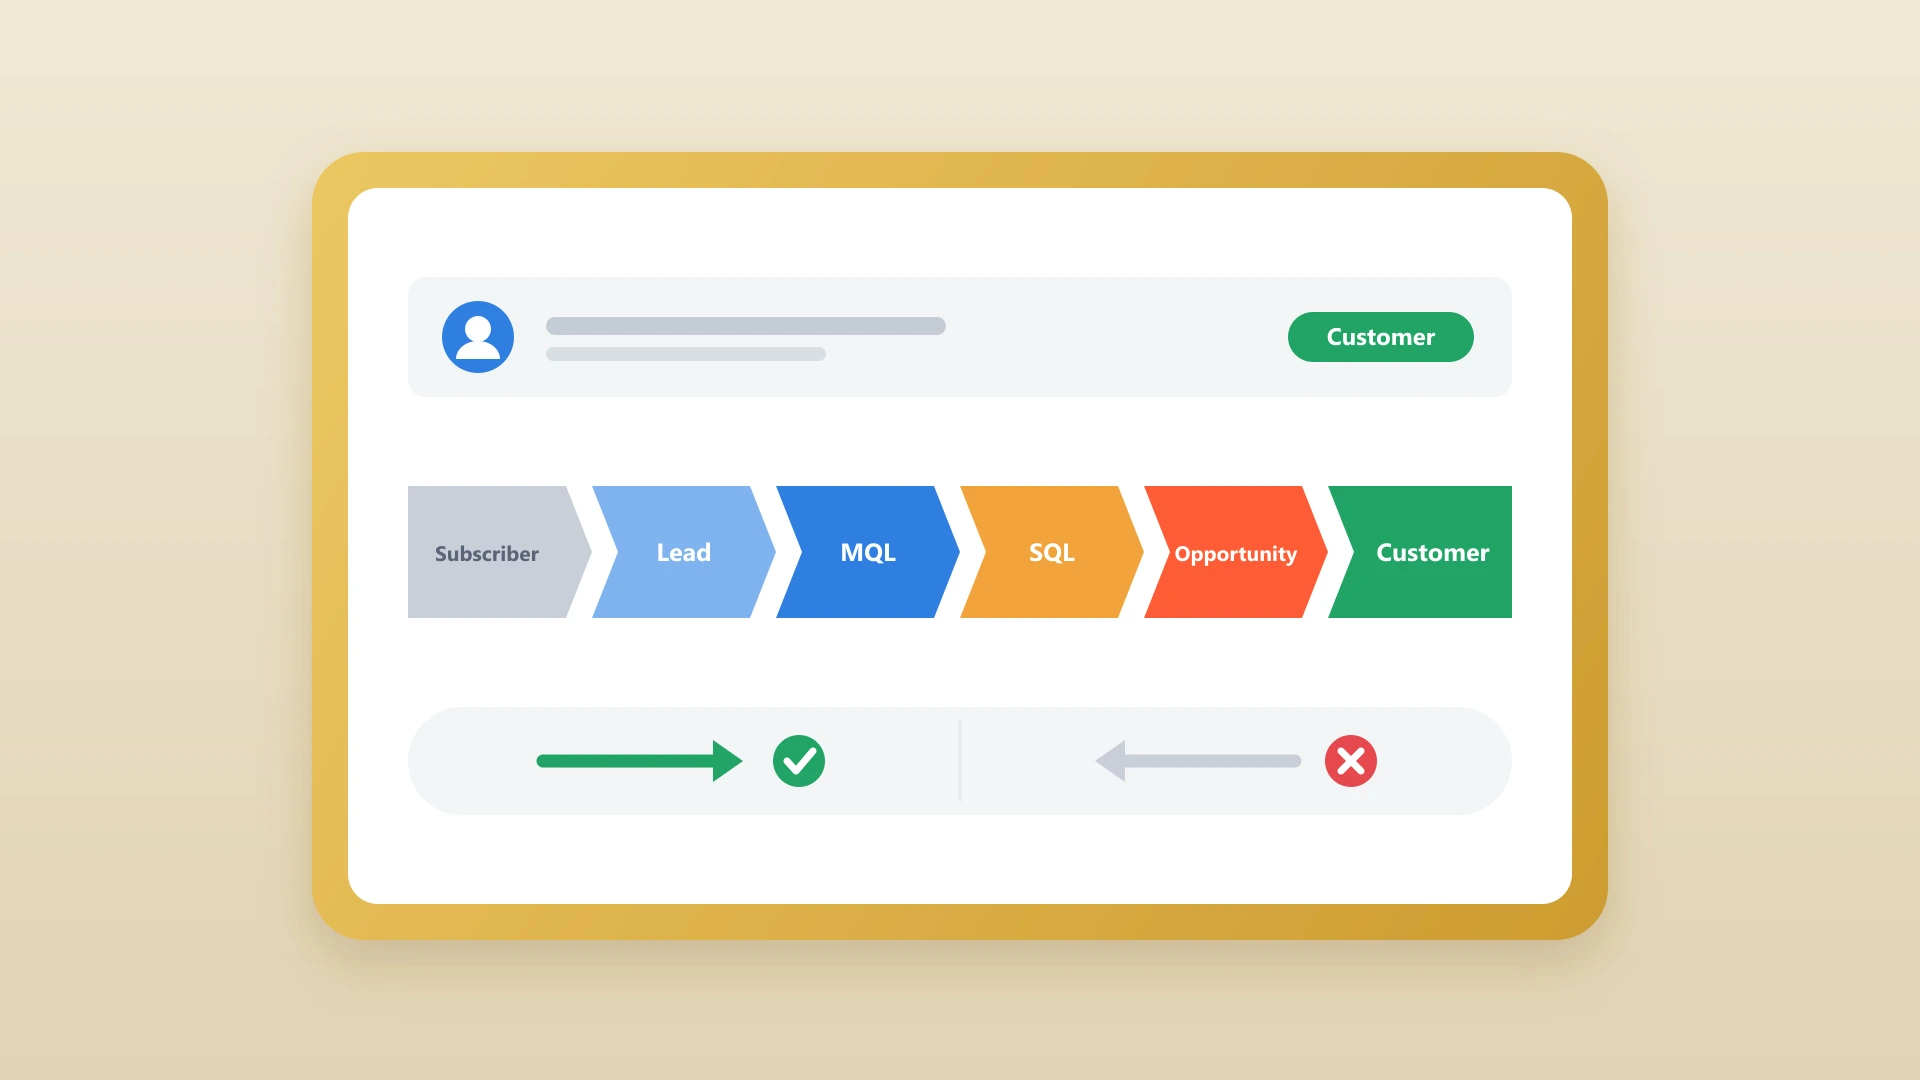
If your team tracks contacts in Notion but manages deals out of HubSpot, you already know the gap. Discovery notes, lead research, and conversation context sit in Notion pages while your CRM shows empty timelines. Moving a handful of contacts manually is already annoying. Moving a hundred is not realistic. The good news is that syncing Notion contacts to HubSpot takes only a few minutes when you have the right setup. Syncing contacts is one part of the broader Notion HubSpot integration; this guide focuses on the contacts workflow specifically.
This guide walks through each step of the process. If you prefer to watch it live, the video below covers the same workflow end to end.
In this article
1.
2.
3.
4.
5.
6.
Moving a handful of contacts manually is already annoying. Moving a hundred is not realistic.
1. Install NoteLinker from the HubSpot Marketplace
The starting point is the HubSpot App Marketplace. Search for NoteLinker and click install. NoteLinker uses a standard OAuth flow, so no API keys or developer credentials are required. HubSpot will prompt you to confirm the permissions NoteLinker needs to write notes to contact timelines, and once you approve, the connection is live.
This step takes under a minute and only needs to happen once per HubSpot portal. If your team shares a portal, any rep on the account can begin syncing their Notion pages the moment the app is installed.
2. Connect Your Notion Workspace
After HubSpot is connected, NoteLinker will prompt you to authenticate with Notion. Click the Notion connection button and follow the OAuth prompt. Notion will ask which pages and databases NoteLinker is allowed to access. You can be selective here: if your Notion workspace includes internal docs, personal pages, or content unrelated to sales, you can restrict access to just the databases that hold your contact notes.
NoteLinker only sees what you grant it, and your private pages stay private.
Scoping access this way keeps things clean. Once the authorization is complete, your selected Notion databases will appear inside the NoteLinker dashboard, ready to be configured for sync.
3. Prepare Your Notion Contacts Database
NoteLinker matches your Notion rows to HubSpot contacts using an identifier, typically an email address. Before syncing, make sure your Notion database has an email property on each row. If your Notion workspace is not yet set up for sales, our Notion workspace setup guide covers the full structure.
Get your database ready to sync
- Every row has an email property, and the values match real HubSpot contact records.
- A contact stored in HubSpot under jane@company.com has the same email on its Notion row.
- Half-finished drafts and placeholder text are cleaned up before the sync runs.
The property name does not need to match exactly, but the values need to correspond to real HubSpot contact records. You should also check that your notes are in a reasonable state before syncing. NoteLinker will push the page content of each Notion row to the matched HubSpot contact timeline. The sync is designed to send what's there, not filter it, so starting with clean notes means clean CRM records from day one.
How to Sync Notion Notes to HubSpot CRM Automatically
Stop losing deal context between Notion and HubSpot. Learn how to sync your sales notes automatically.
4. Map Your Contacts to HubSpot Records
Inside NoteLinker, select the Notion database that contains your contact notes. You will be asked to tell NoteLinker which Notion property holds the email address for each row. Select it from the dropdown and NoteLinker will use that value to look up the matching HubSpot contact when the sync runs.
You can also configure what gets synced from each Notion page.
Full page content by default
NoteLinker sends the whole page, preserving the headers, bullet points, and rich text formatting you wrote in Notion.
A customizable note header
Add the page title or a specific property value at the top of the note. This is useful when a single contact has multiple Notion pages and you want each timeline entry clearly labeled.
5. Run the Sync and Verify the Results
With the mapping configured, click Sync. NoteLinker will process each row in your Notion database, match it to the corresponding HubSpot contact by email, and post the page content as a native note on that contact's timeline. For a database with 100 contacts, this typically completes in under two minutes.
- 1
Click Sync
NoteLinker processes each Notion row, matches it to a HubSpot contact by email, and posts the page content as a native timeline note.
- 2
Spot-check a few records
Open a handful of HubSpot contacts and confirm each Notion page appears as a timeline activity with the original formatting intact.
- 3
Review the flagged rows
Any Notion email that did not match a HubSpot record gets flagged, so you can correct it without losing data, then re-run.
Once the sync finishes, open a few HubSpot contact records and confirm the notes landed correctly. You should see each Notion page appear as a timeline activity with the original formatting intact. If a contact's email in Notion did not match any HubSpot record, NoteLinker will flag those rows so you can review and correct them without losing any data. From this point forward, syncing updated notes is a single click, and your team's HubSpot timelines will always reflect what's in Notion.